
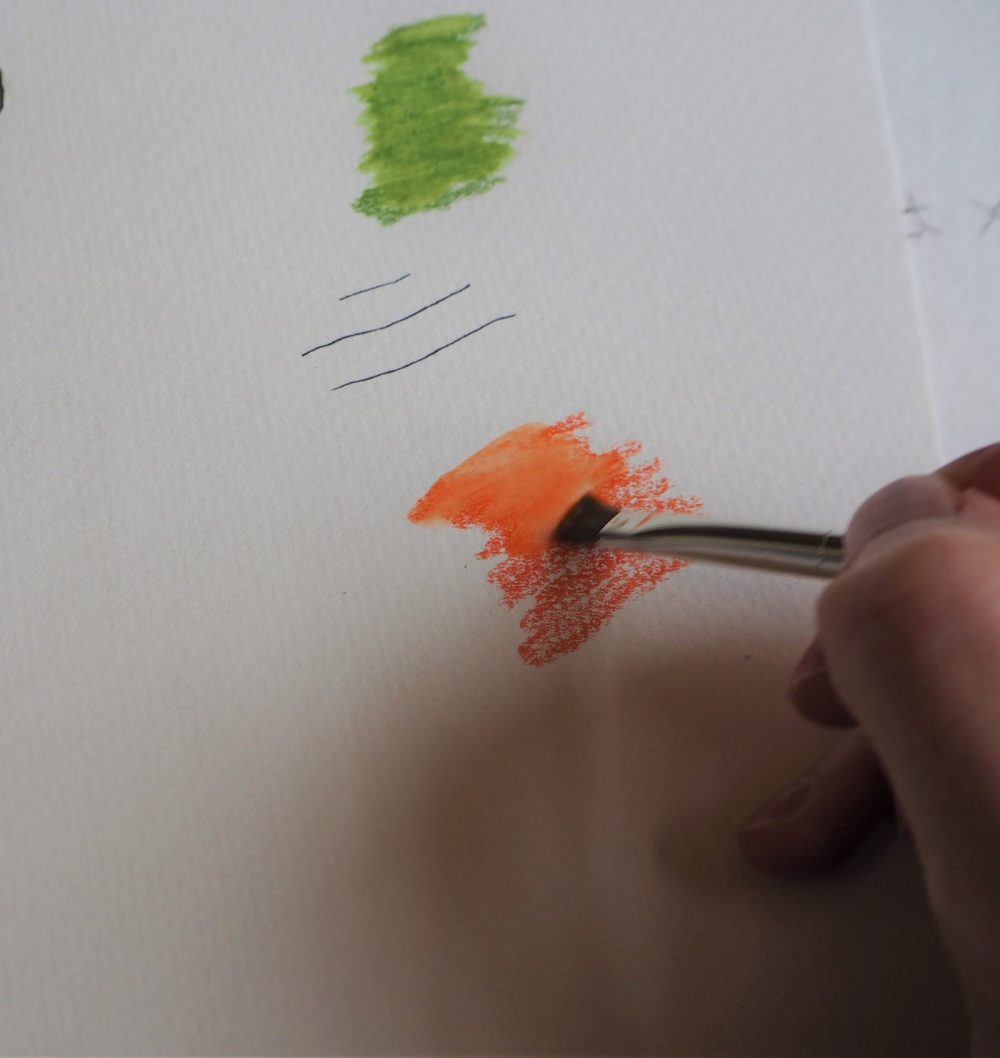
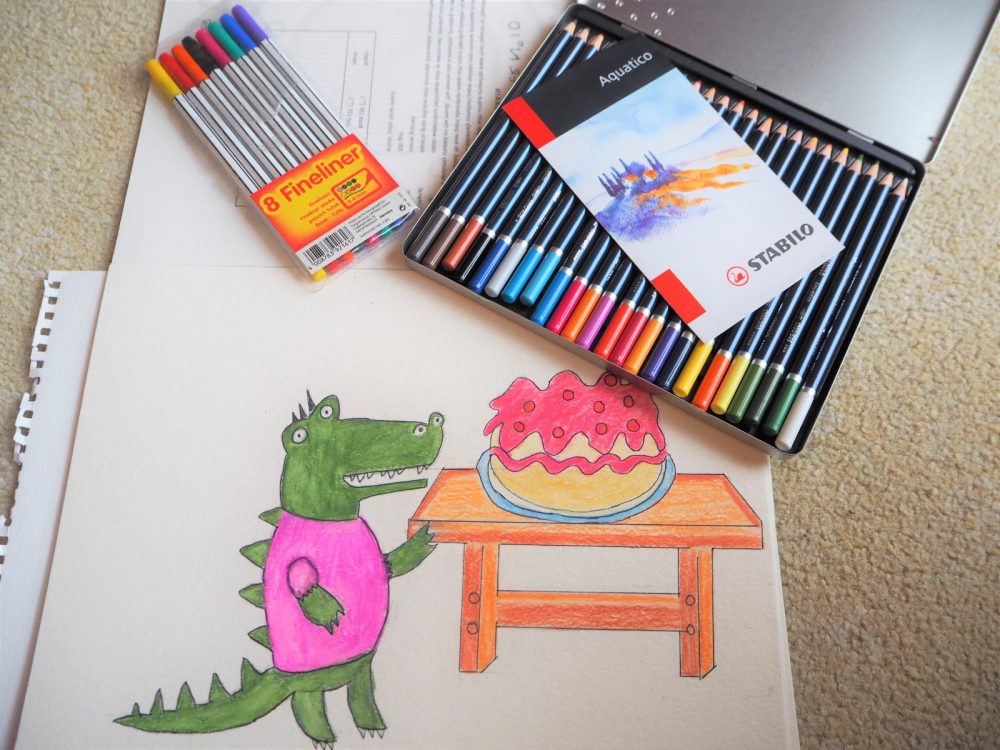
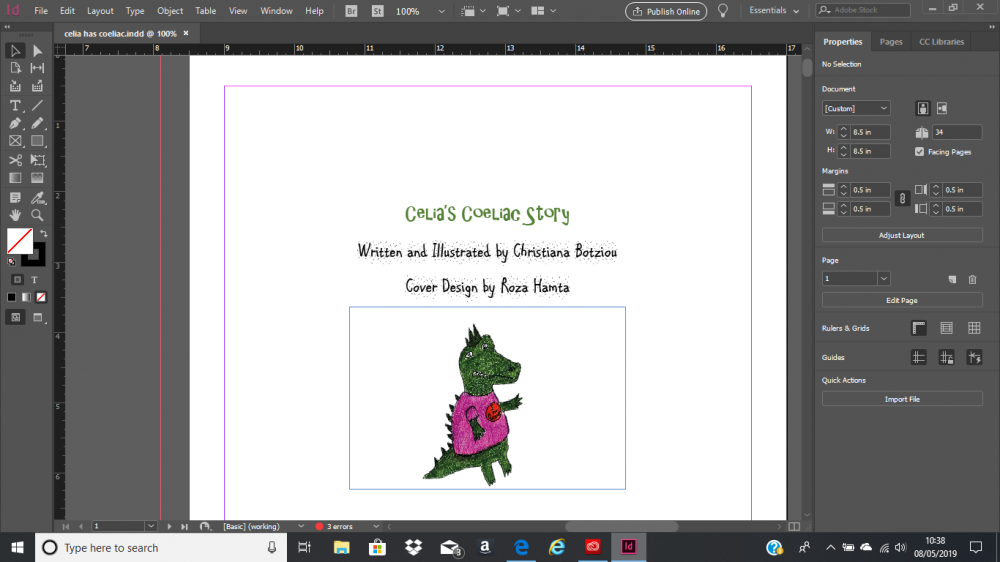
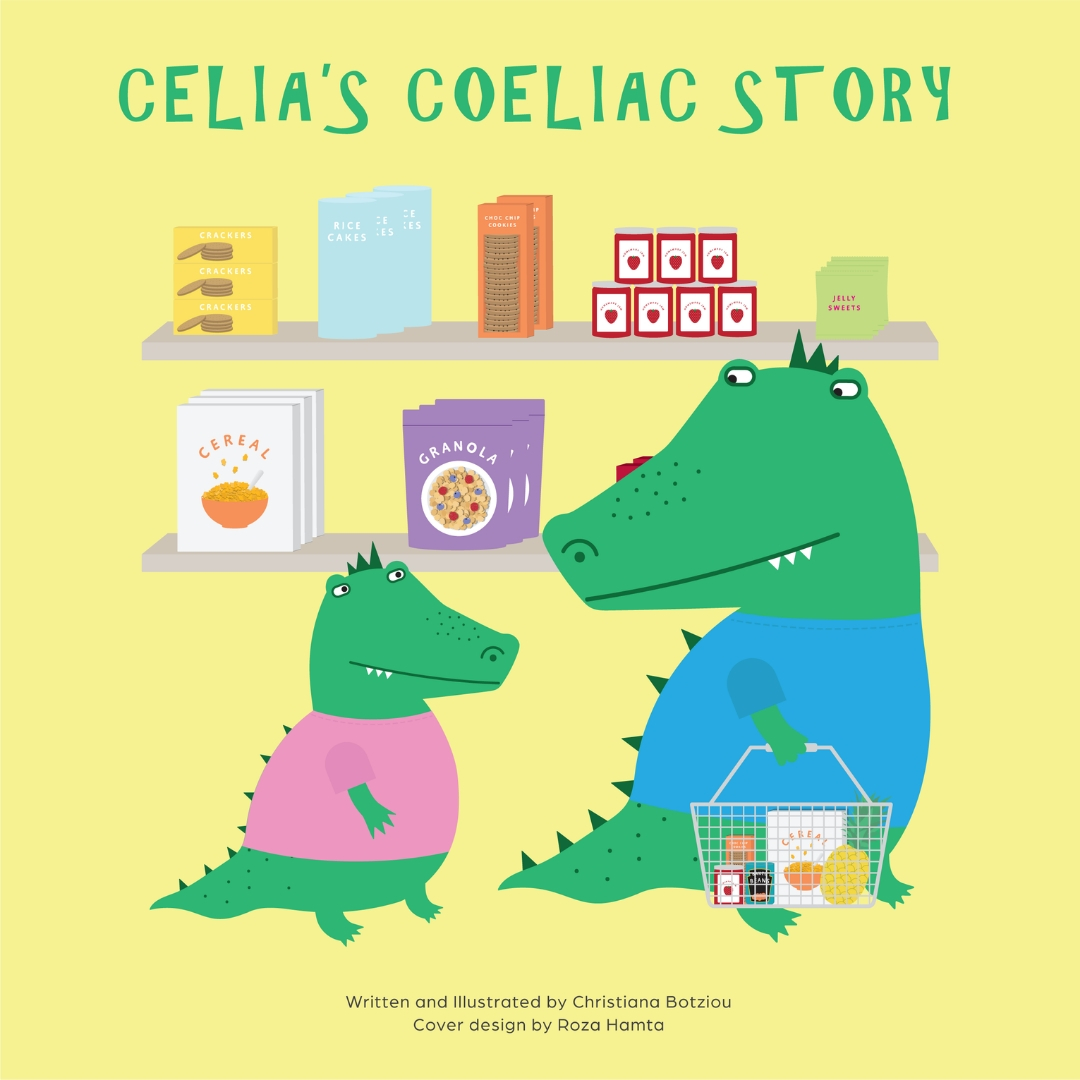
This picture book step by step guide is to help show you how I created my picture book Celia’s Coeliac Story which is now being sold on Amazon Worldwide. I drew my illustrations on a watercolour pad, and used Aquatico watercolour pencils and a brush to colour. I then took pictures of each individual illustration, and edited using Photoshop, In design and Microsoft word. Amazon Kindle Direct publishing offers templates as well, which are useful and you can upload your book for FREE! I worked with the lovely Roza Hamta who created my front cover. She downloaded the Amazon template and then saved the cover as a PDF for me to upload easily. I wouldn’t advise creating the whole book on Microsoft word, as when you come to upload on Amazon Kindle Direct Publishing, the layout will be completely different.
Another thing to bear in mind if you are using other software for the design of the front covers is to make sure that the title text is an image format rather than a text format. I had issues with the first few proof copies of my book, as the titles were very blurry. Once changed to an image format, the text was much clearer.
Step 1: Plan your story
Brainstorm your ideas and read other picture books to help give you some inspiration. Think about the themes, context, plot and characters. I have read a lot of picture books and have always liked the idea of animals in stories. I wanted to write a story about Coeliac Disease and then the ideas popped into my head!
Step 2: Write your story
I wrote a draft of my story 2 years prior to self publishing my book and then completely changed my story to a poetry format! I also initially had a different character for my book, but then decided that I wanted a crocodile! Keep in mind the age group that you are writing for. My book is aimed at 4 to 7 year olds, and it also has a section to aid parents. Also think about the setup and pages. My book has 32 pages, which is a standard picture book amount, but you may want more or less pages.
Step 3: Get others to proof read your story
I made several errors in my story, even after self checking it over and over again! It’s a good idea to get someone else to look at your story and proof read it before you start selling it to the public!
Step 4: Illustrations
Decide how you are going to illustrate your story. You may want illustrations on each page, or on every second page. I chose to draw all of my own illustrations inside my book, but you may want to find an illustrator to do it for you. I found an illustrator just to design my front cover by searching the internet. I came across the Leigh Art Trail which showcased all the local illustrators work, which led me to my illustrator. We discussed the drawing style, my target audience, the colour palette and what I envisaged for the images. If you choose an illustrator, have a budget in mind, and think about your target audience and what illustrative style and colour palettes you like.
Step 5: Design and Layout
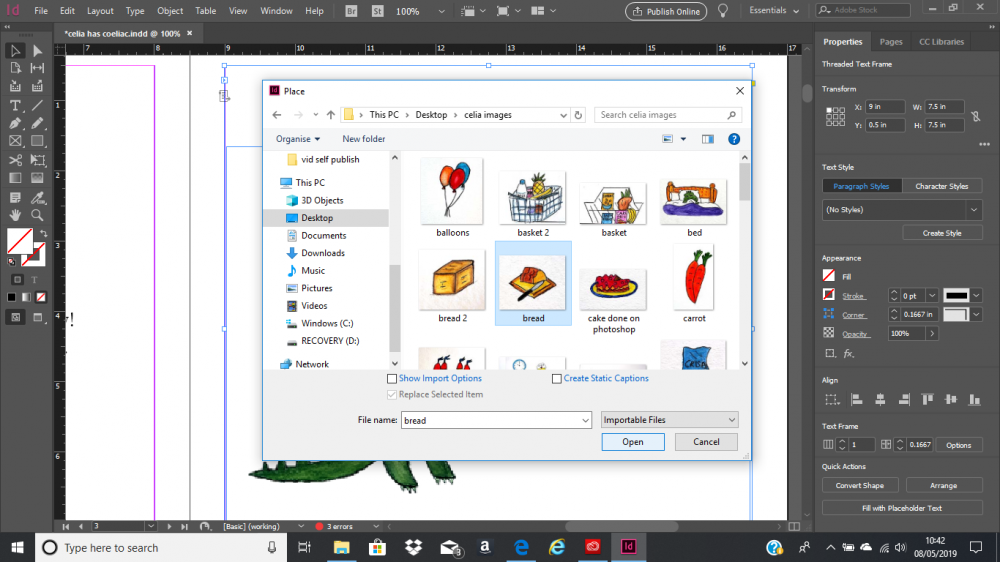
There are lots of different ways to design and layout your picture book. I used Photoshop for very basic detailing and editing and In Design to layout my picture book. In Design was easy to use, and when you save your In design as a PDF and upload it to Amazon, it will look exactly how it looks on the In design layout. You can do many things on In Design, such as adding text, page numbers as well as choosing a book size. My book was 8.5 inch by 8.5 inch.
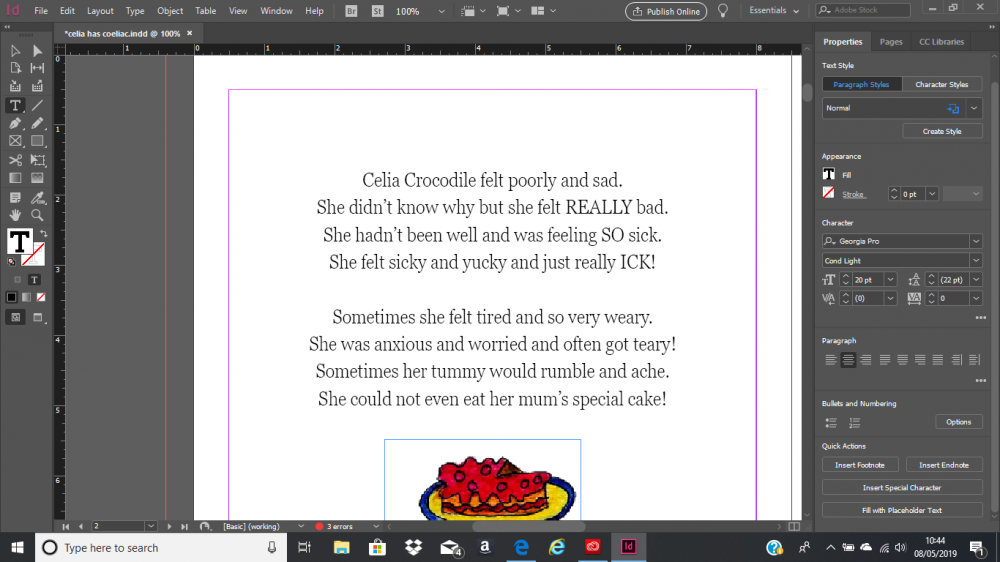
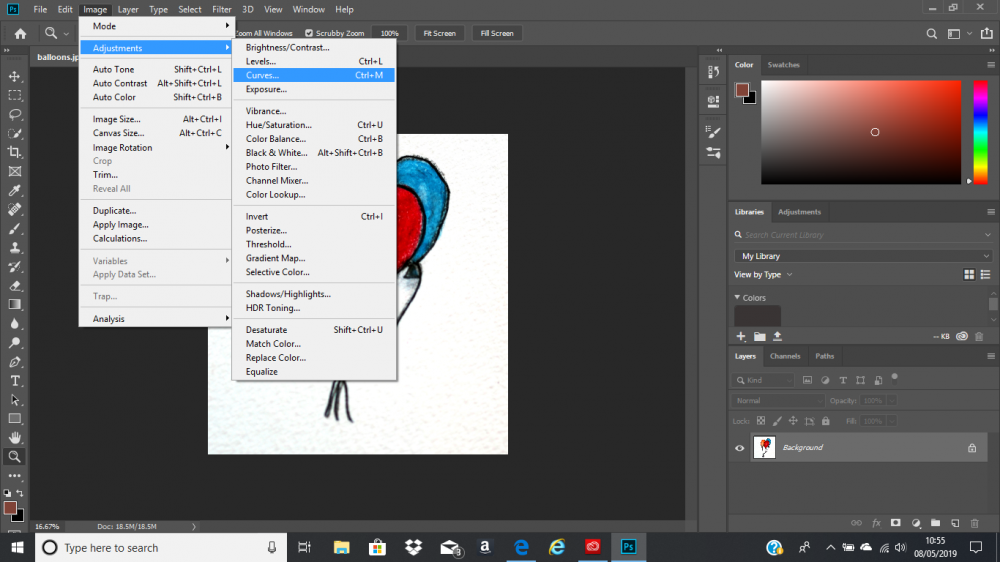
Step 6: Edit your images
I used Photoshop to edit and enhance the images before I placed them into In Design. With photoshop, you can use various tools such as the lasso tool to remove the background, or if you are not very confident with photoshop, you can also do this on Microsoft Word. You can also adjust the curves, this enhanced the brightness of the white and the black outline.


Step 7: Completion of book and exporting as a PDF file
With Amazon, the files you upload will have to be PDF files. The book content can be uploaded and then the front cover and back cover will be uploaded separately. If you have adjustments you would like to make, you can always reupload a newer file. All the other information of the book content such as keywords, author information, tax information and of course payment details must all be filled in before you publish your book.

Step 8: Sell and promote your book!
This is the final stage, and I was so happy when my book was finally completed! You can choose to buy your own copies of your book, which will be sold to you as the author at a fraction of the price!
♥